
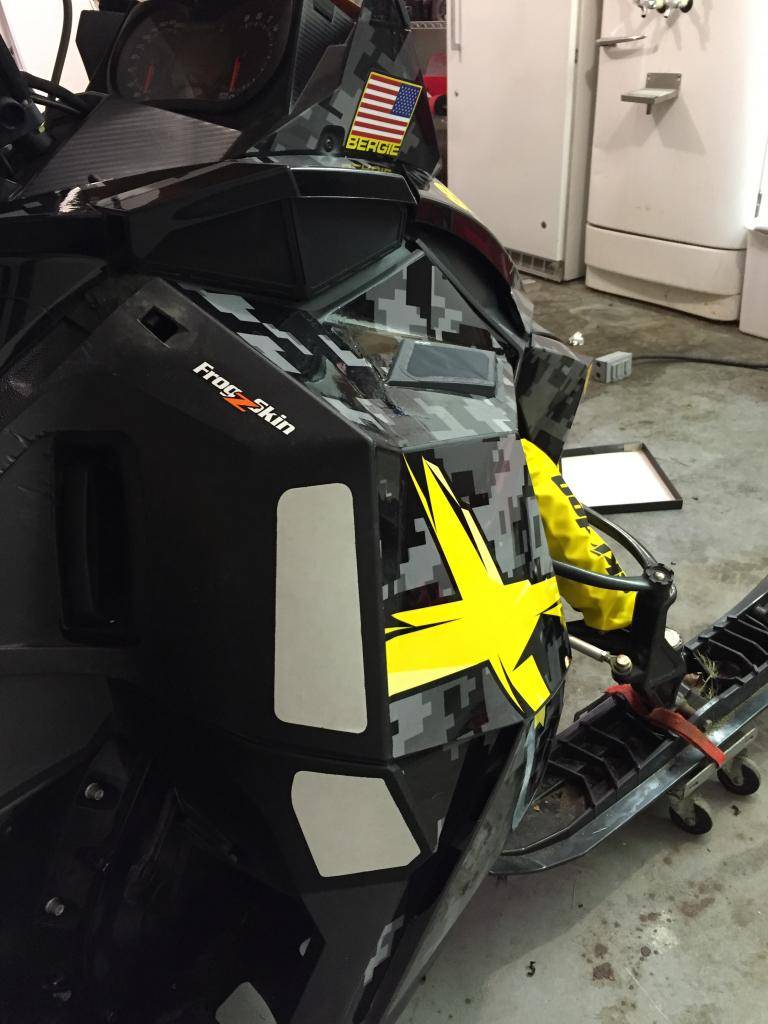
The installation is demonstrated on SKI-DOO XP REV, but can by applied to any sled Frogzskin makes products for.
Please click below to visit the website!

Step one: decided were you would like to install a FrogZskin vent. The products are pre-sized to fit certain parts your clutch and exhaust panels. The inside of the product backing works perfect as outline for drilling air vents
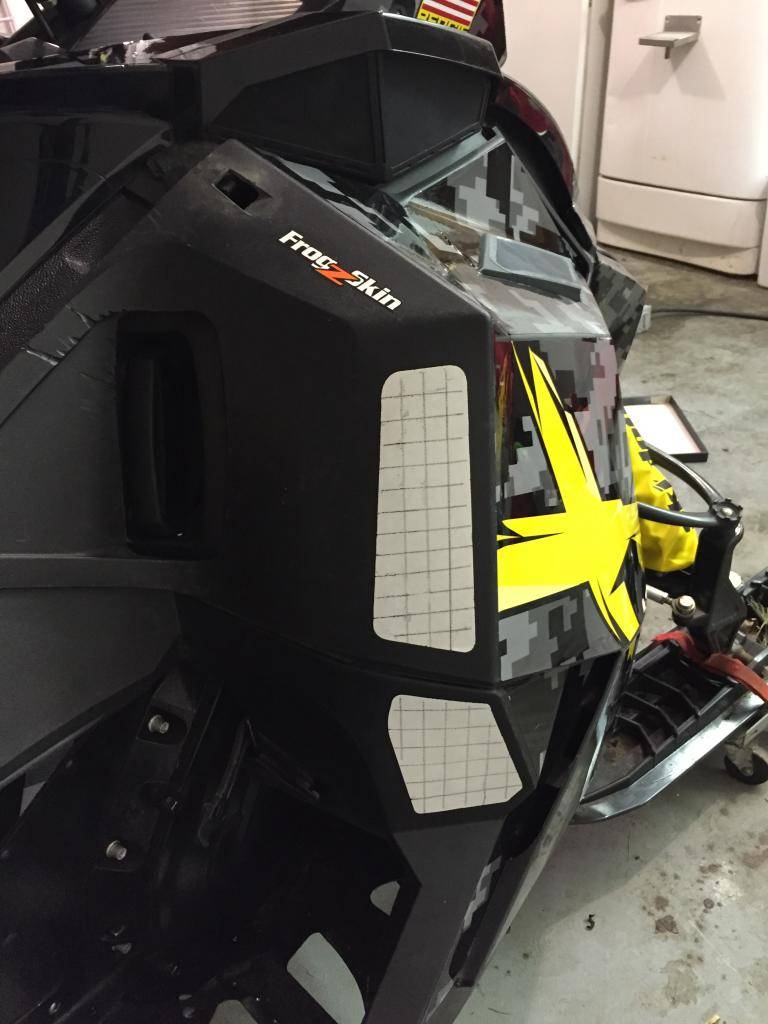
Step two: Marking your outline to make equal drill sits. I used a grid pattern, using alternating spots for drilling. The products come with a template for a 2 1/2 inch circle drills.
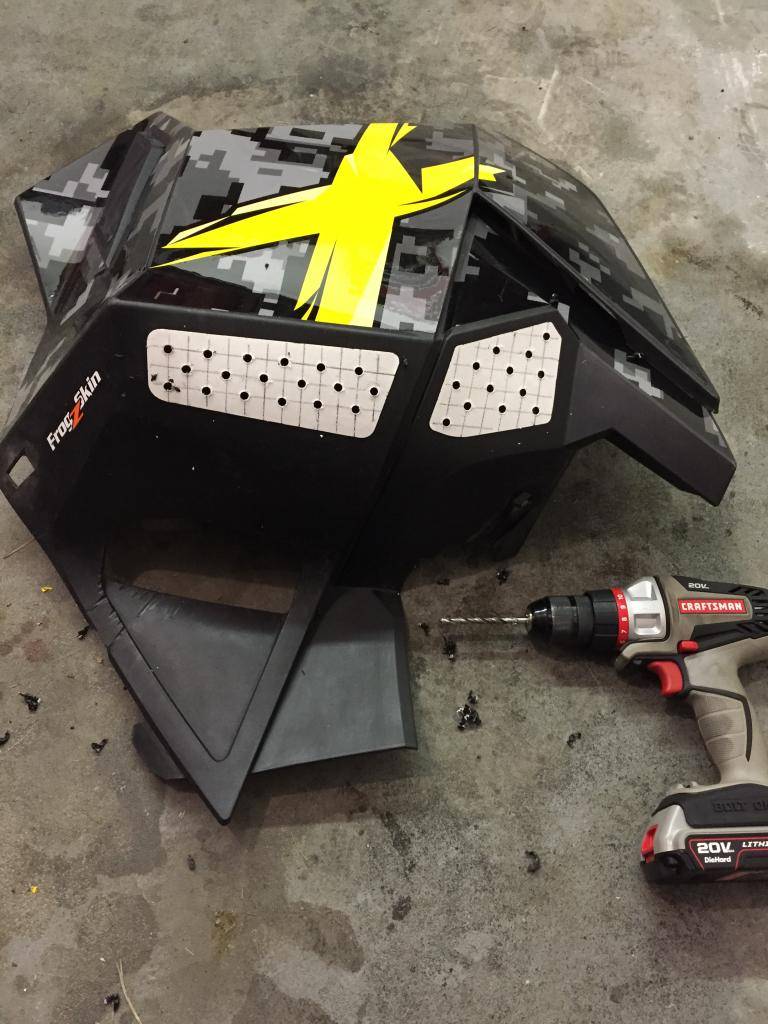
Step three: Pre-drilling or making pilot holes for a larger drill bit later. This is a very importance step.
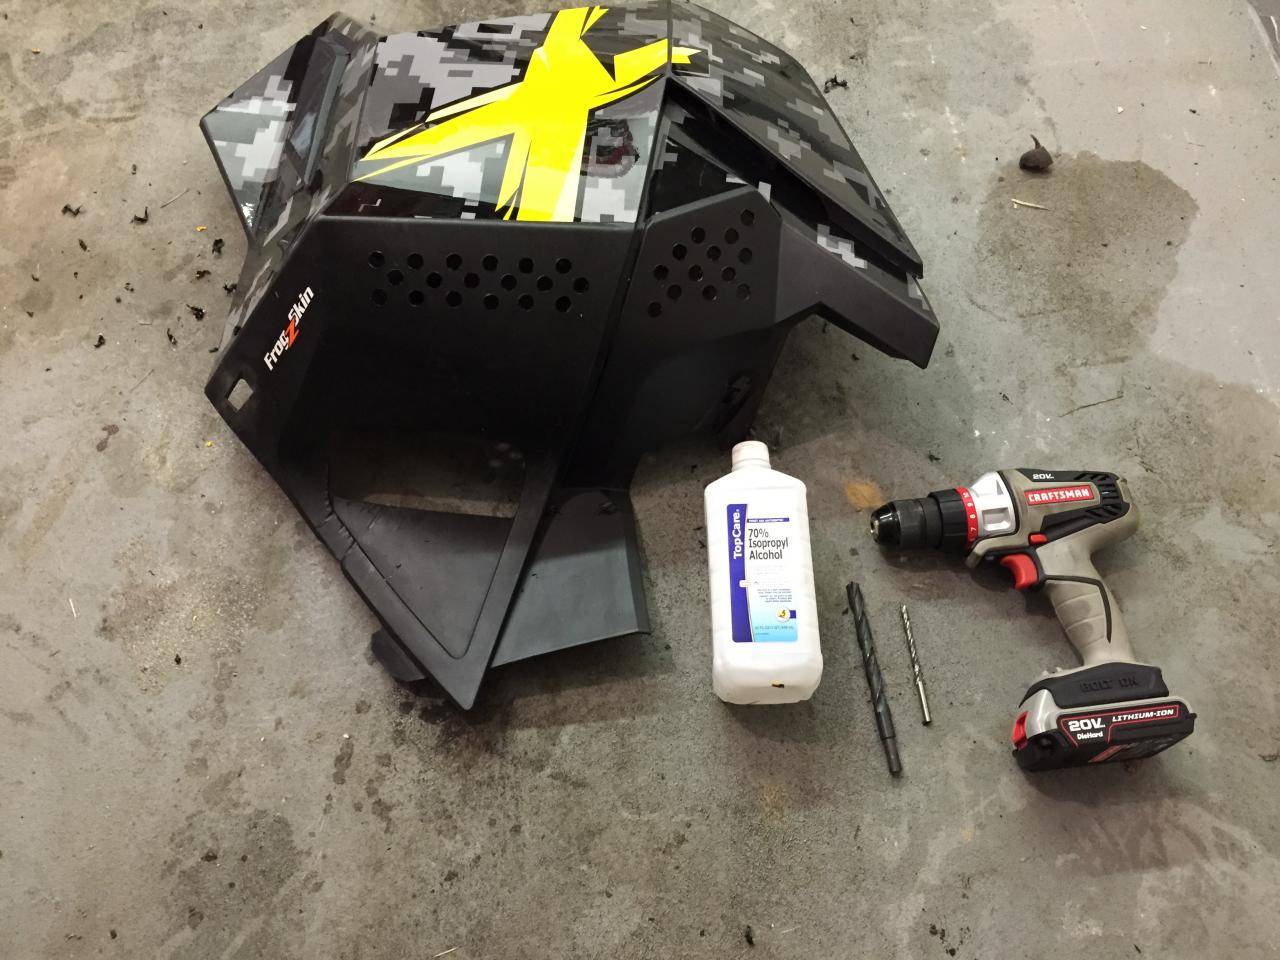
Step four: Drilling larger air vents. I used 3/4 inch drill bit, following the outline from the pilot holes. With this step, I also cleaned and prepped the panel for the installation of FrogZskin vents. I used 70% isopropyl alcohol to remove any oils or glue residue from the outline. A clean surface is very important for proper installation.
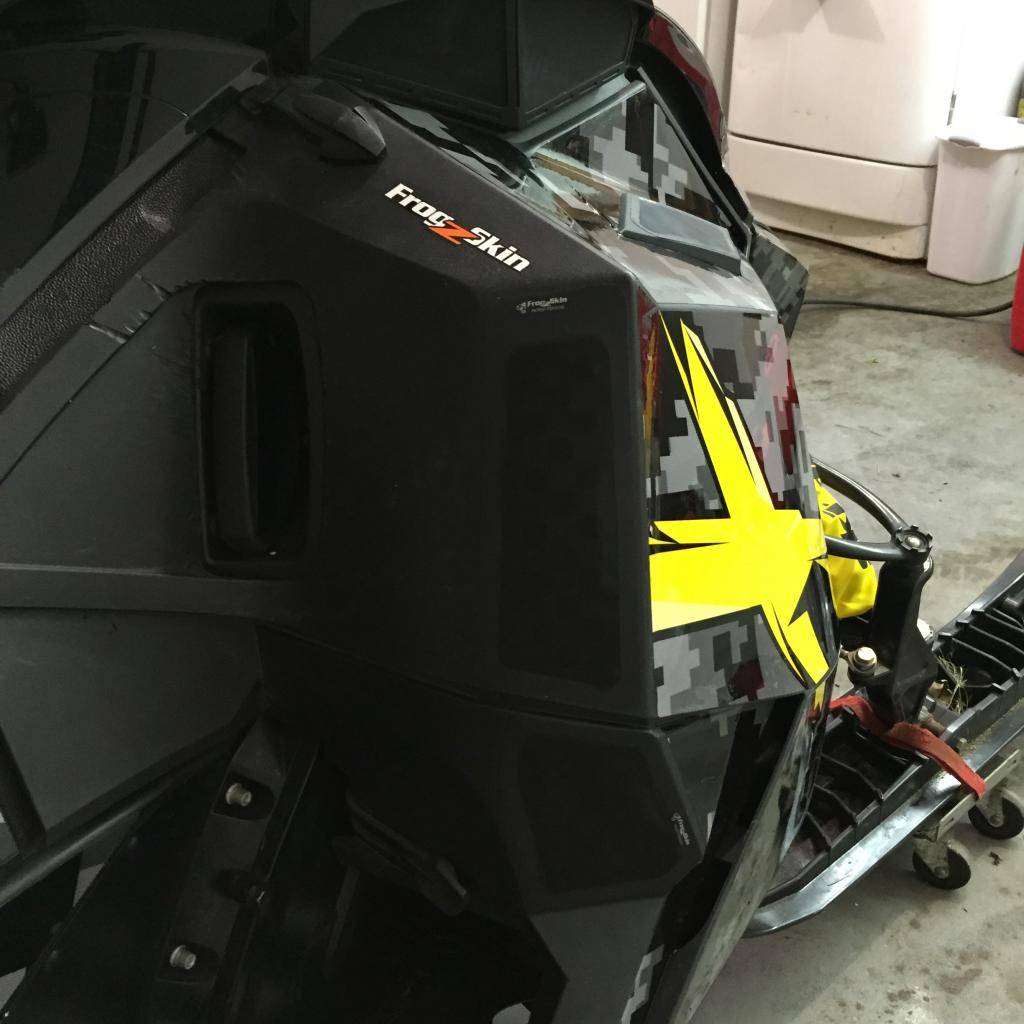
Step five: FrogZskin vent installed. The manufacturer recommends installing the vents taut. For proper installation, ensure both the product and the FrogZskin are warm (above 60 degrees) and remain warm for 24 hours prior to use. This ensure proper adhesion to panels.
Please click below to visit the website!
Please click below to visit the website!
Step one: decided were you would like to install a FrogZskin vent. The products are pre-sized to fit certain parts your clutch and exhaust panels. The inside of the product backing works perfect as outline for drilling air vents
Step two: Marking your outline to make equal drill sits. I used a grid pattern, using alternating spots for drilling. The products come with a template for a 2 1/2 inch circle drills.
Step three: Pre-drilling or making pilot holes for a larger drill bit later. This is a very importance step.
Step four: Drilling larger air vents. I used 3/4 inch drill bit, following the outline from the pilot holes. With this step, I also cleaned and prepped the panel for the installation of FrogZskin vents. I used 70% isopropyl alcohol to remove any oils or glue residue from the outline. A clean surface is very important for proper installation.
Step five: FrogZskin vent installed. The manufacturer recommends installing the vents taut. For proper installation, ensure both the product and the FrogZskin are warm (above 60 degrees) and remain warm for 24 hours prior to use. This ensure proper adhesion to panels.
Please click below to visit the website!